Manually adding or editing multiple customers to your database is frustrating, not to mention time-consuming. With the new release of Business Central you now have the ability to bulk add and edit customers via Excel. Now that’s something to get excited about!
How to bulk upload and edit customers in Business Central
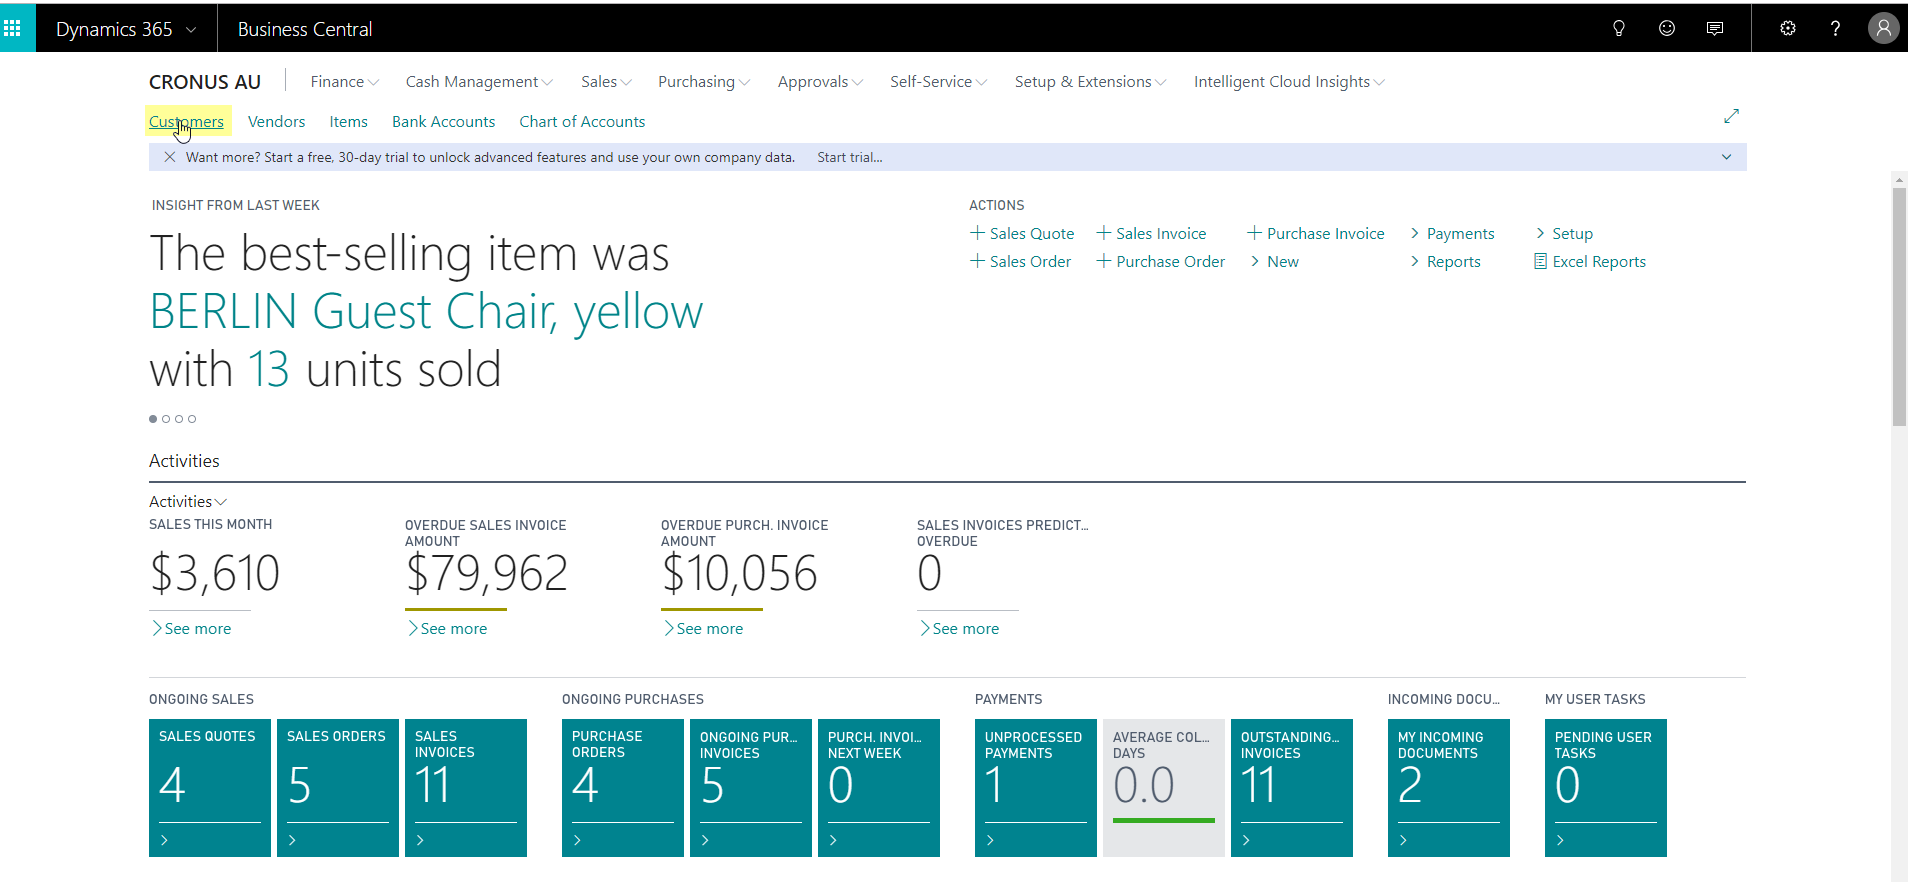
- Login to Business Central, click on the “Customers” link.
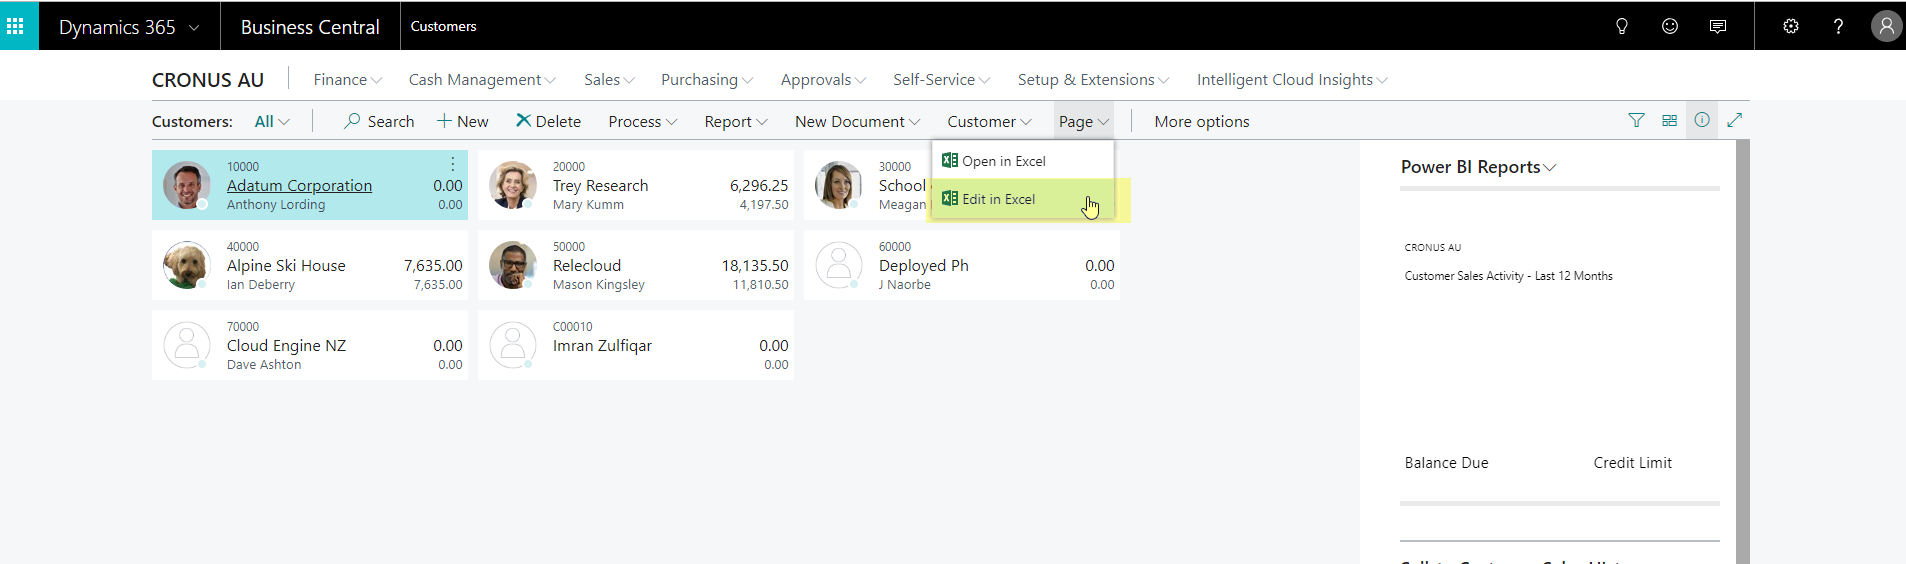
- Find the Page drop down and click on “Edit in Excel”.
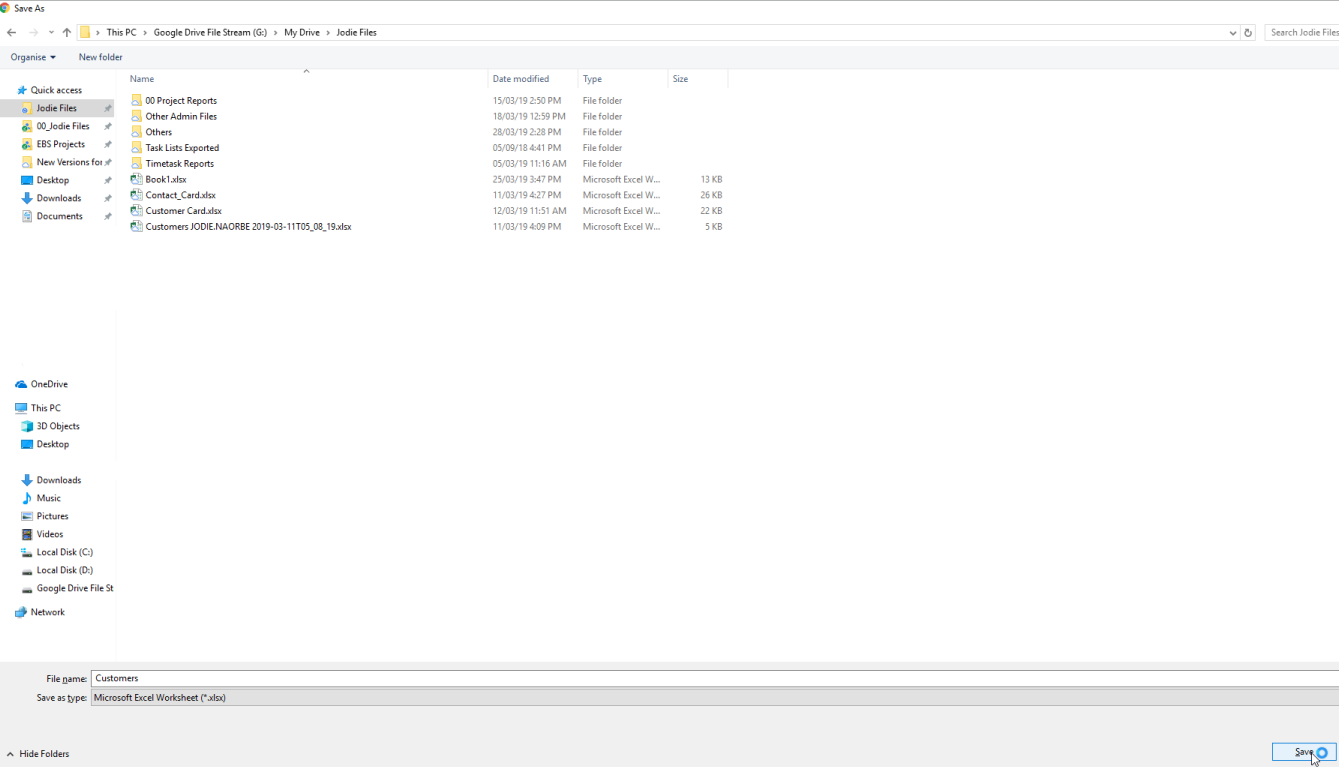
- Save the excel file pop up in the desired folder location.
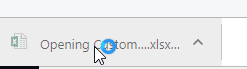
- Once downloaded, click and open the downloaded file.
- Upon opening the file, ensure you are logged in to your Microsoft account.
- Once logged in, the Microsoft Dynamics Office pane will be activated.
- Current data of customers will be loaded, and the Excel add-in will be activated in the Microsoft Dynamics Office pane.
- Add additional customers or edit existing within the Excel table format.
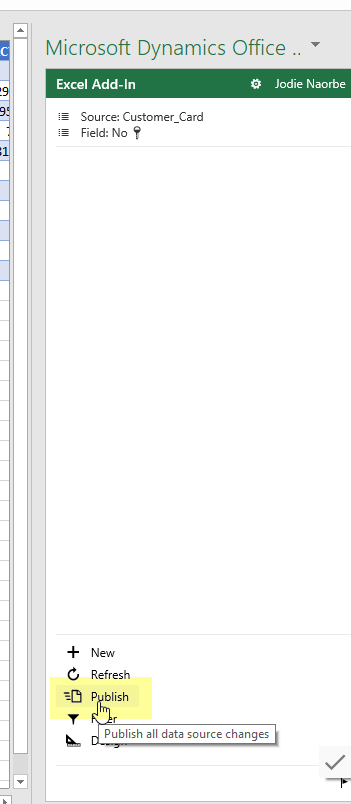
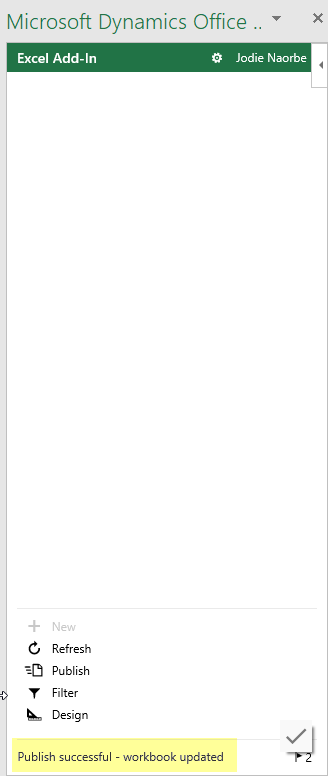
- Once completed, click on the “Publish” button in the Microsoft Dynamics Office pane. You will receive a confirmation upon completion.
Previously, it was possible to update data in bulk using Configuration Packages, which exports a template to excel that can be updated in excel, saved and imported back into Business Central. Below are the detailed steps to this additional functionality for setting up Business Central Sales Module and add your customers via excel.
Step 1.
Once you have logged into Business Central, click on the Customers link in the site tab
Step 2.
When the Customers page has loaded, find the Page dropdown and click on Edit in Excel
Step 3.
Save the excel file pop up in the desired folder location
Step 4.
Once downloaded, click and open the downloaded file
Step 5.
Upon opening the file, make sure that the user is logged in to the Microsoft account
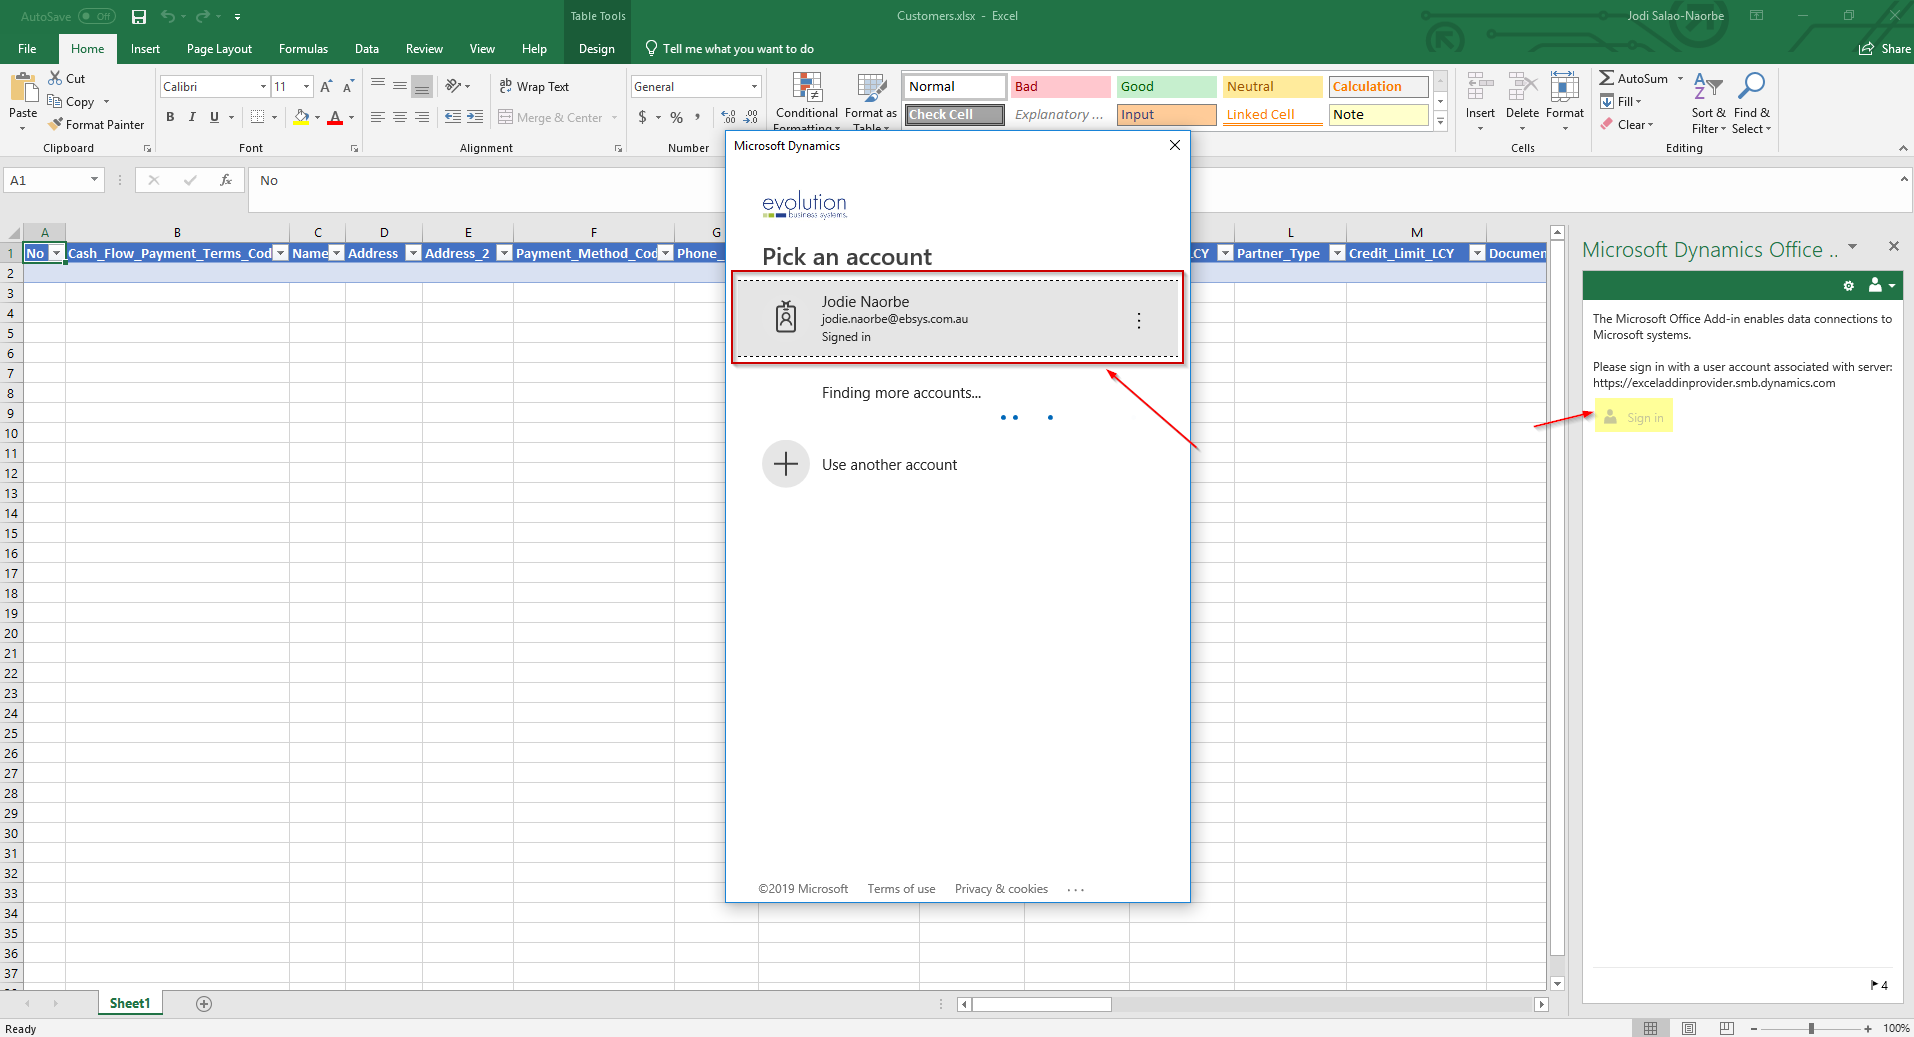
Step 6.
Once logged in, the current data of customers will be loaded, and the Microsoft Dynamics Office pane will be activated
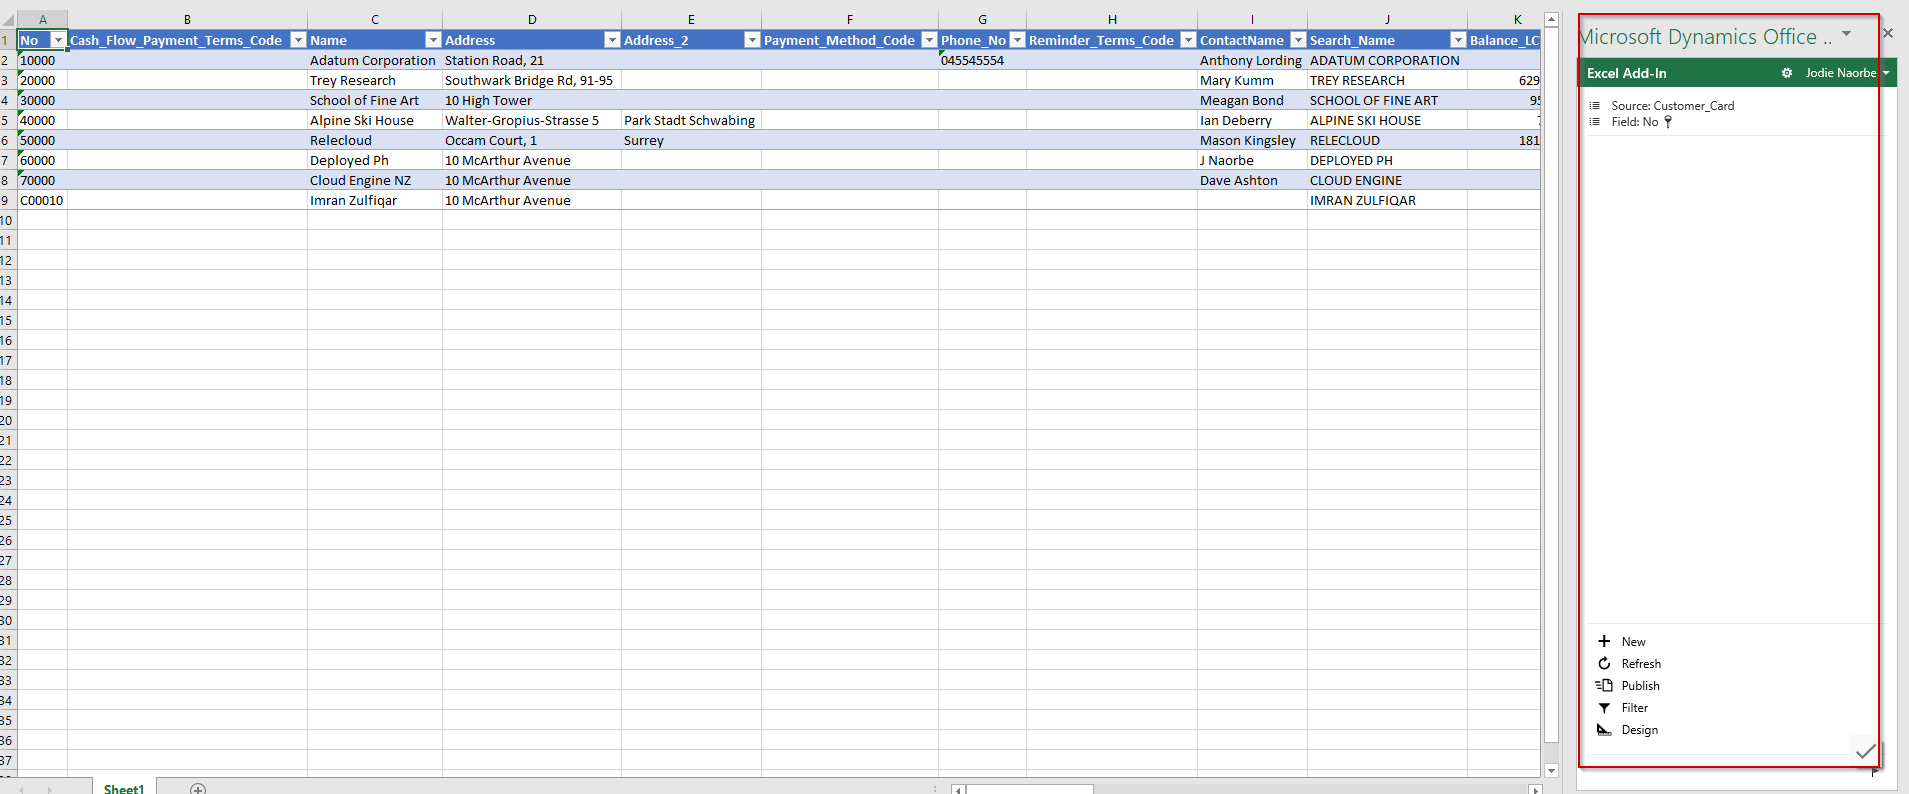
Step 7.
You can now add new lines of your customers, or edit the existing ones in bulk or individually.
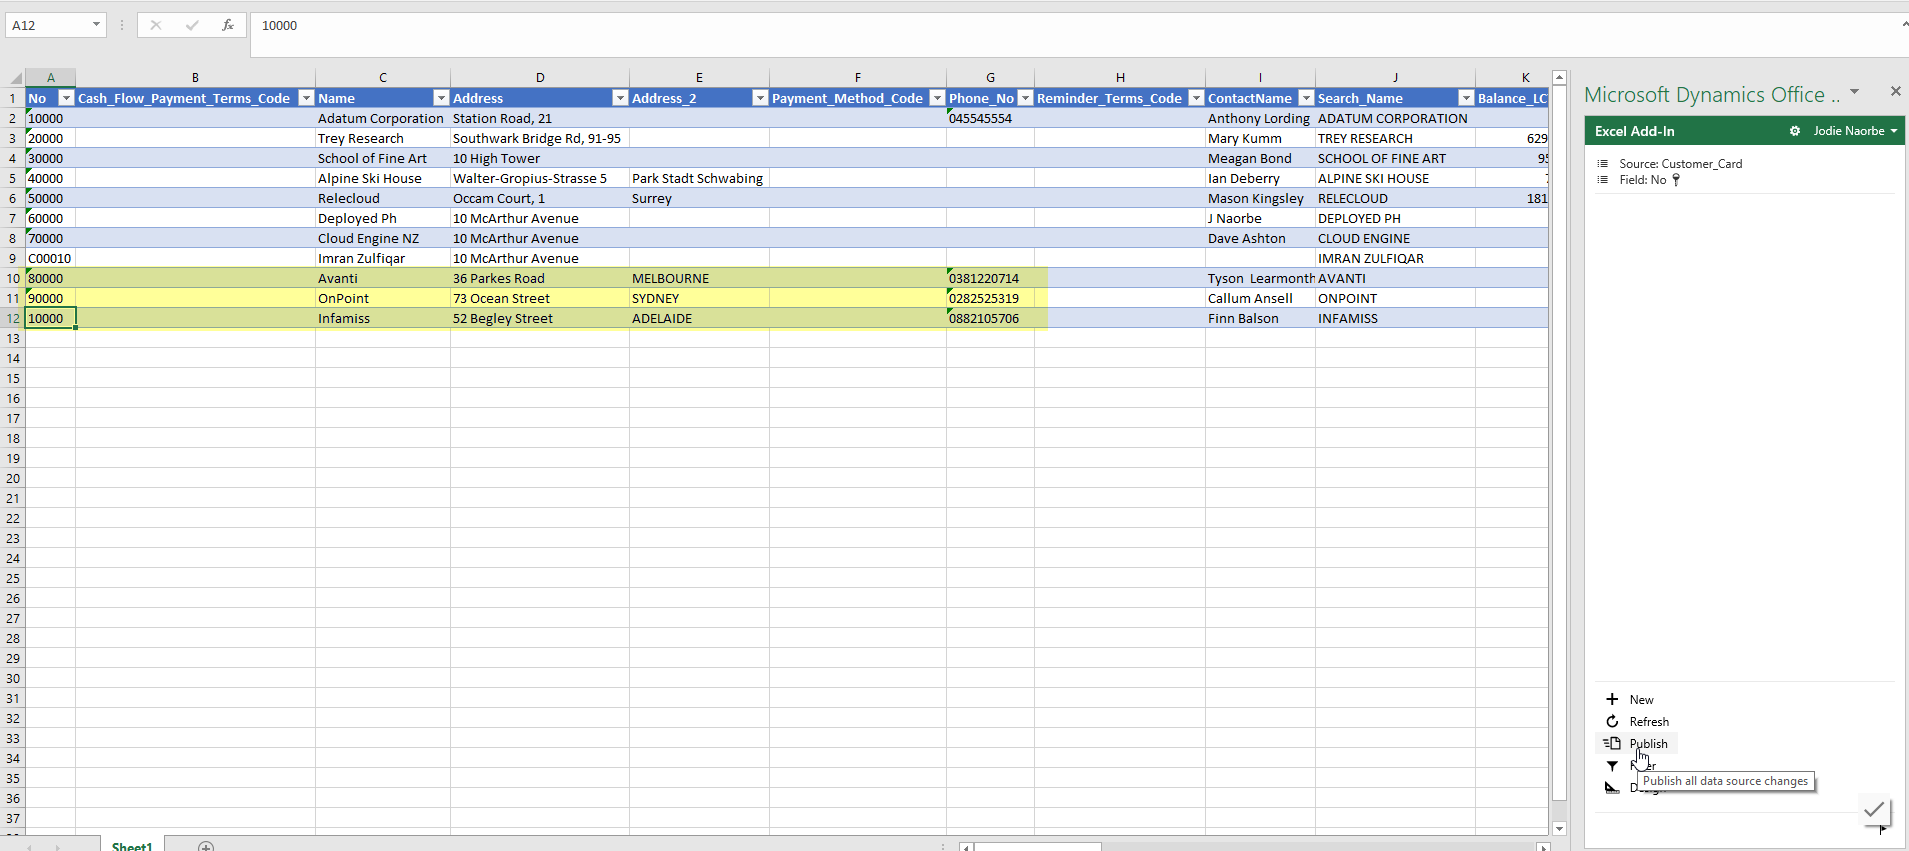
Step 8.
When editing of entries are completed, click on the Publish button in the Microsoft Dynamics Office pane
Step 9.
If the entries are all good, there will be a message on the successful data upload as shown below
Step 10.
When the publish is successful, go back to the Dynamics 365 Nav site and refresh the Customers page
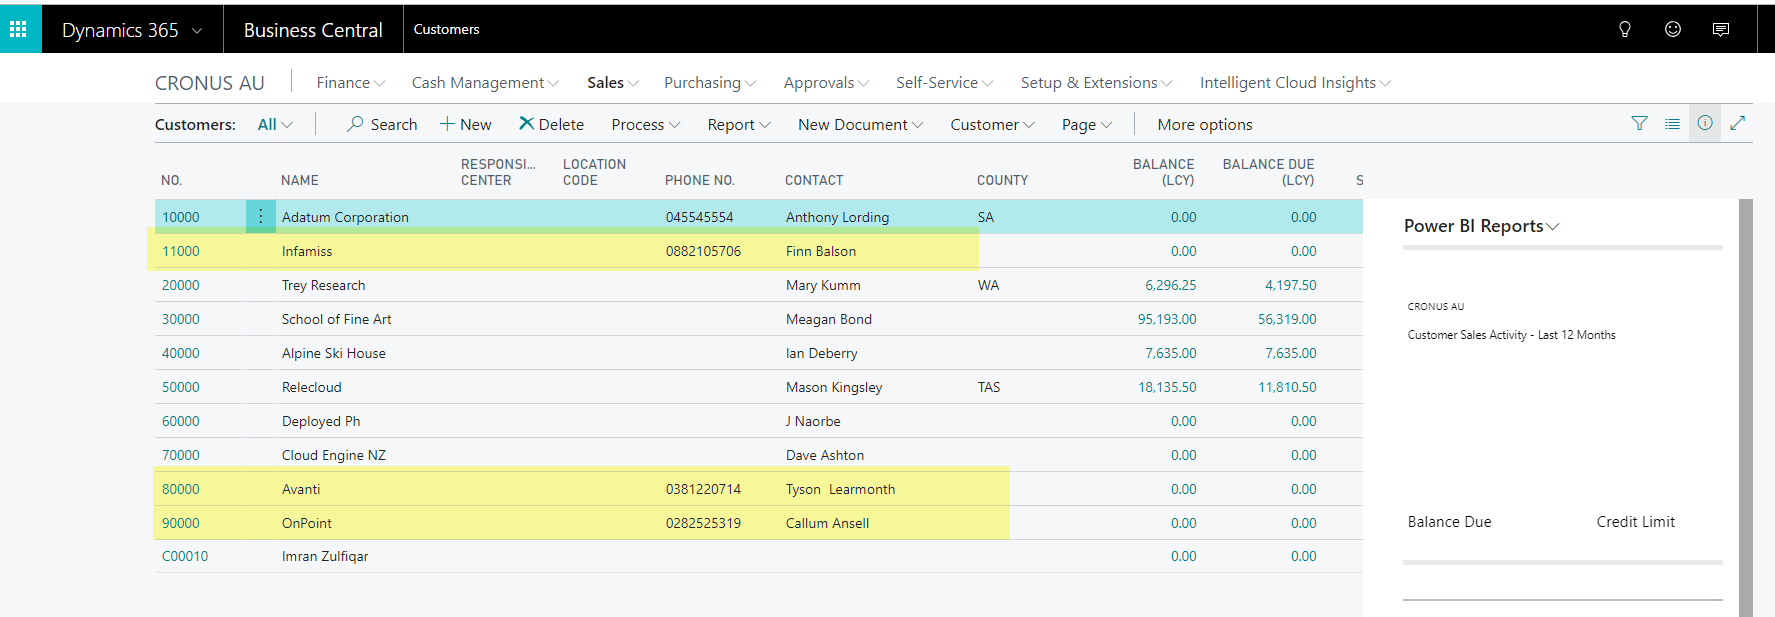
You have now successfully added your new customers from Excel into Business Central!
Was this article helpful?

Hayeen Palencia is Customer Support Specialist at EBS. She is an experienced ERP Consultant specialising in Microsoft Dynamics 365 Business Central / Dynamics NAV.