This is a new feature in Microsoft Dynamics Navision that will help the user setting up NAV and make it easier for the user to setup scenarios and limit the multiple screens to open when setting up NAV. Microsoft has made setting up easier by creating ‘Assisted Setup’, this is setup wizard that can assist users to establish the requirements to get the application working in Microsoft Dynamics NAV.
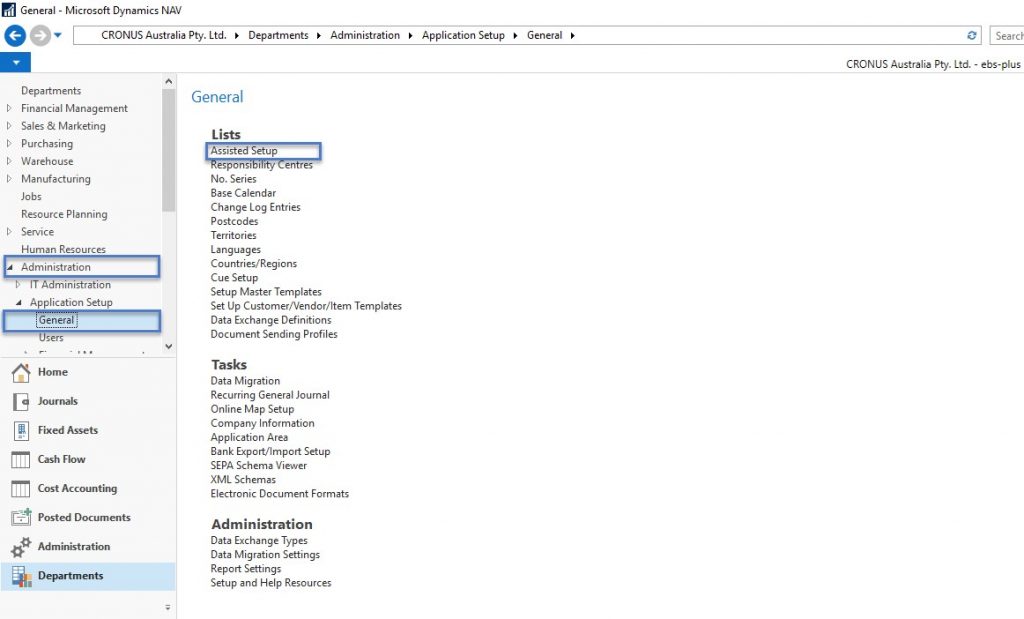
Step 1. How to open ‘Assisted Setup’
In Navigation Pane, click Departments > Administration > Application Setup > General > Assisted Setup
Step 2.
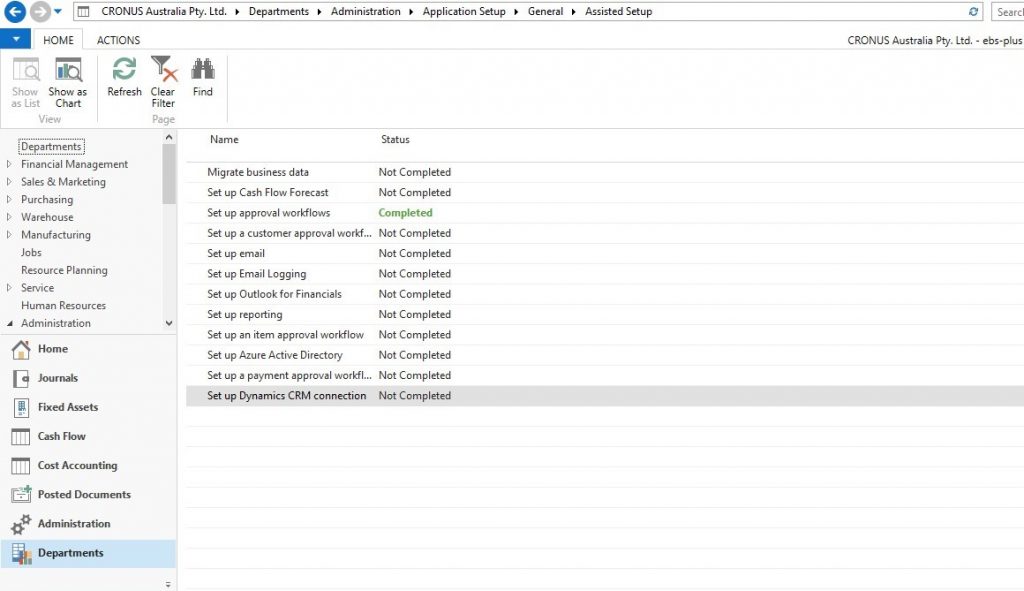
A list of different setup options will be shown, enabling users to setup activities within the application. There’s also the status of which setup is already completed.
Step 3.
For example- if you would like to setup the work flow for customer approval and you will see how the wizard can assist you to set this up easily.
Click on the Setup a Customer Approval Workflow.

Step 4.
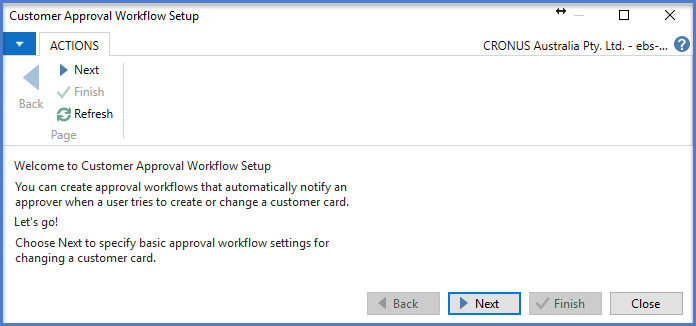
The setup wizard will appear and states you can create approval workflow automatically.
Step 5.
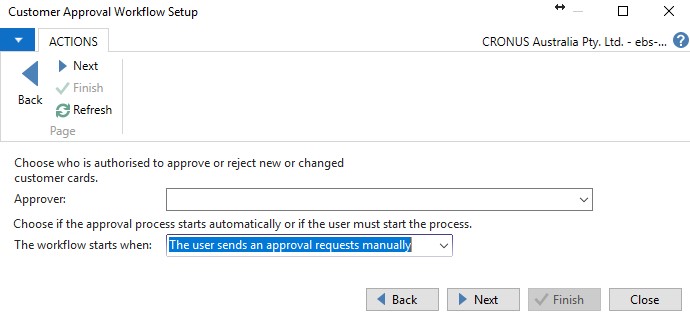
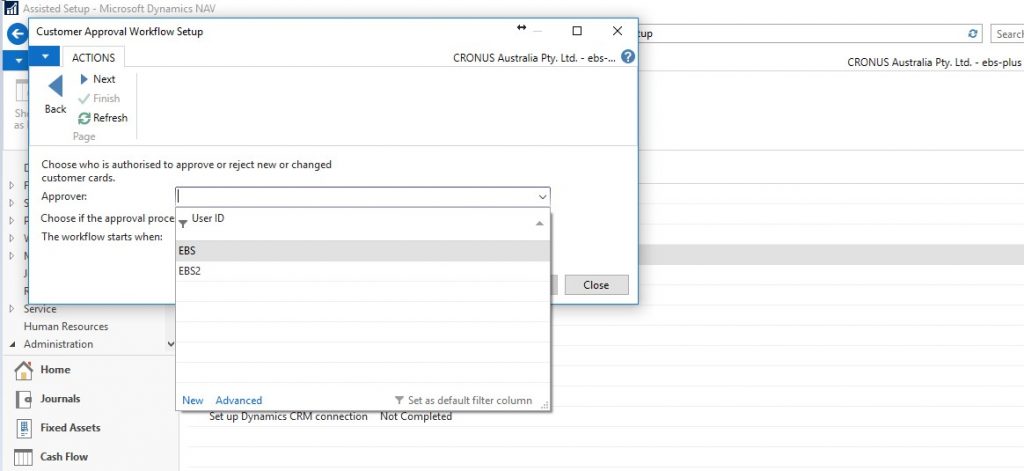
Click next. The wizard will require the user ID to approve or reject this workflow.
Step 5.
Click next. The wizard will require the user ID to approve or reject this workflow.
Step 6.
When you click the drop down arrow list of User ID with approved status will appear.
Step 7.
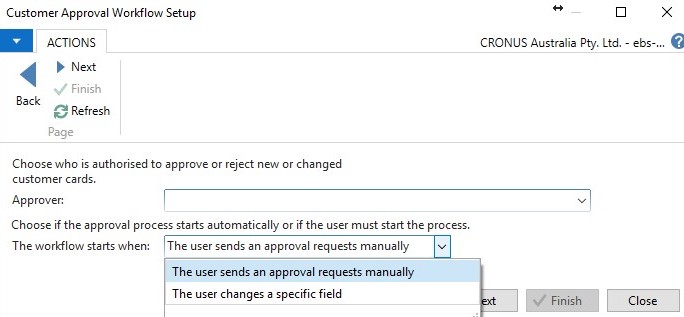
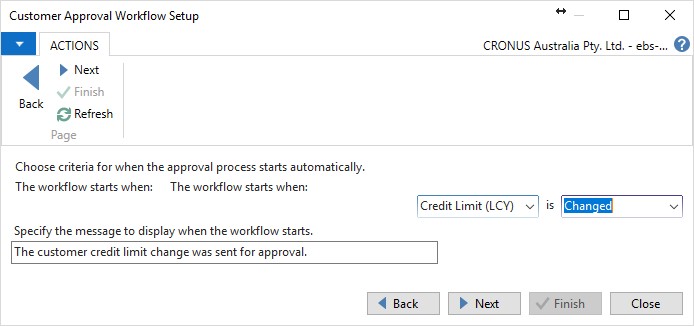
After you have selected the User to approve this workflow, the next question is when will this workflow starts? There are two options for this activity.
Option 1: The User sends an approval request manually. This means the user who create or edit the customer card will click send for approval manually.
Option 2: The user changes a specific field. Once a user edits a specific field, NAV will send automatic approval request before the changes will apply.
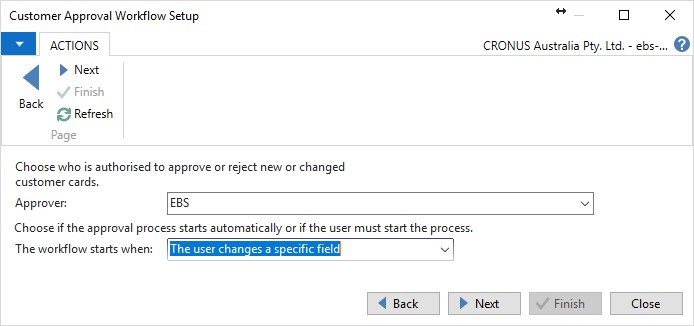
In this example I will choose “EBS” as my approver and the workflow starts when “The user changes a specific field”.
Step 8.
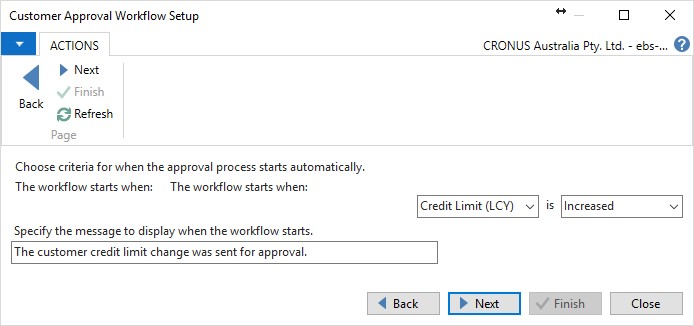
The next wizard setup will ask which customer field will trigger approval for changes.
Step 9.
These are the list of fields in the customer card that you can choose.
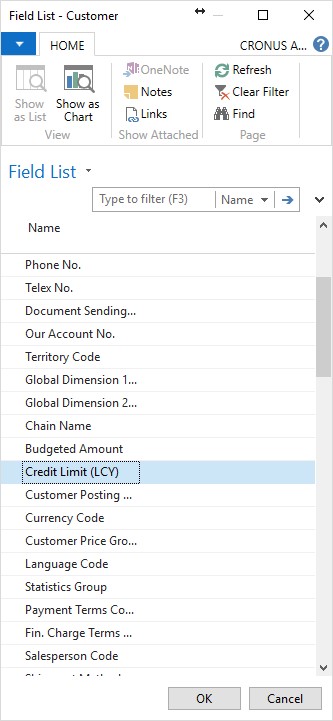
Step 10.
I will proceed and select credit limit, this means any changes in this field will have to be sent for approval.
Step 11.
Once you click next, That’s it! The setup for approval request when Credit Limit (LCY) field is changed.
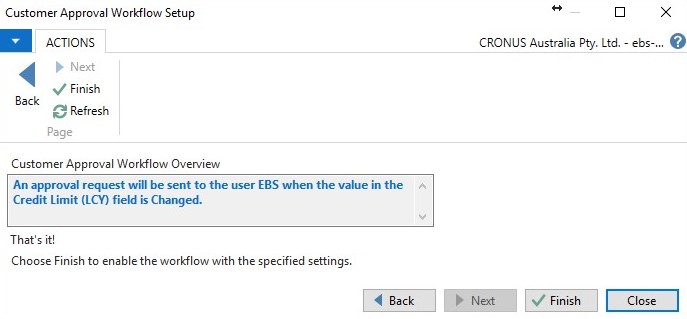
Now let’s see how this works.
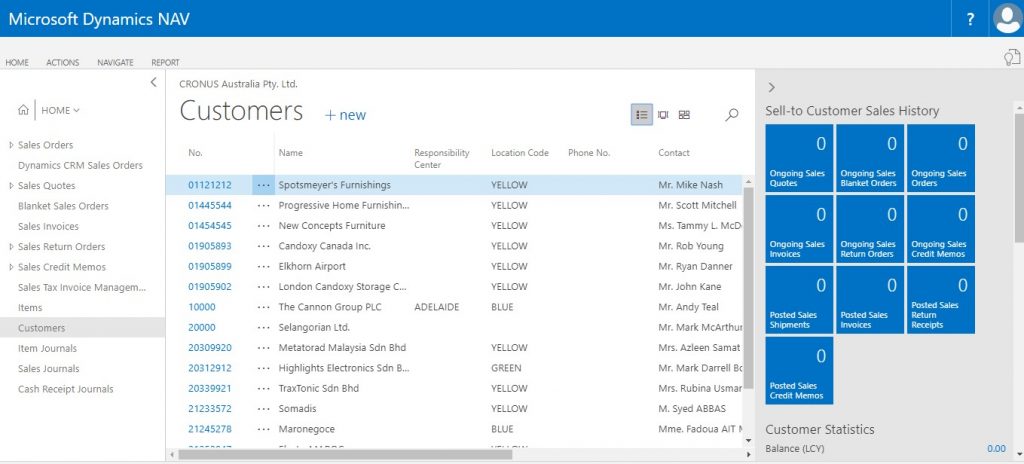
In NAV go back to the home page, then click customer or search customer.
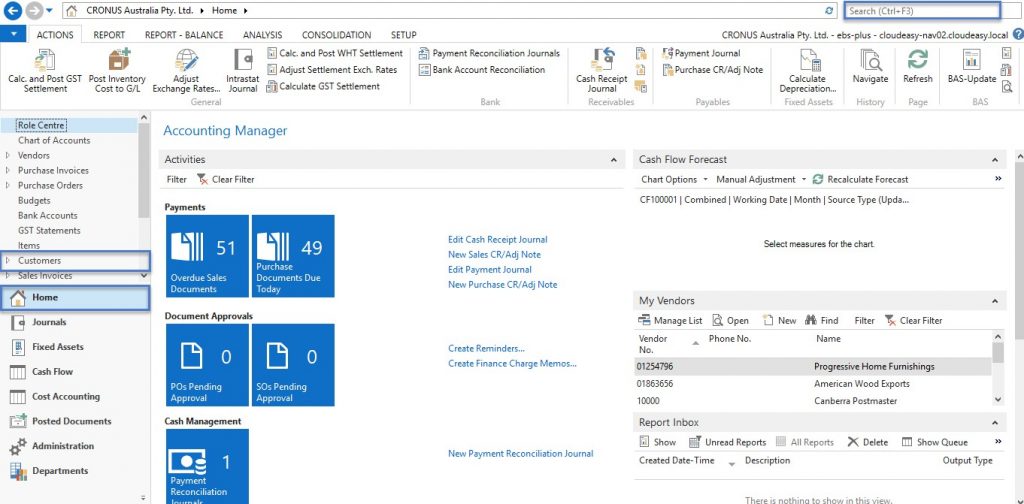
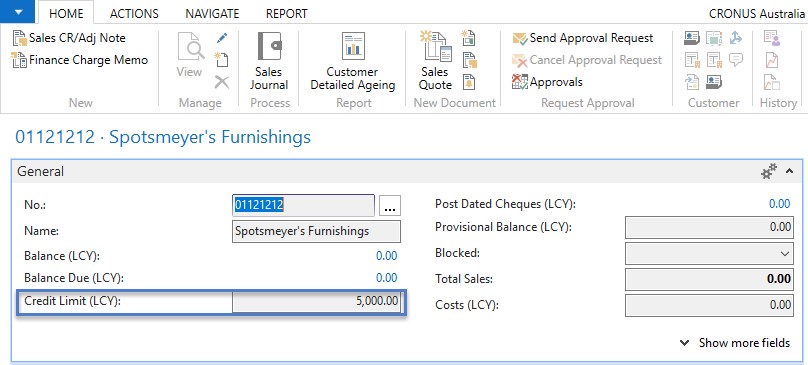
Edit one customer and try to change the credit limit field.
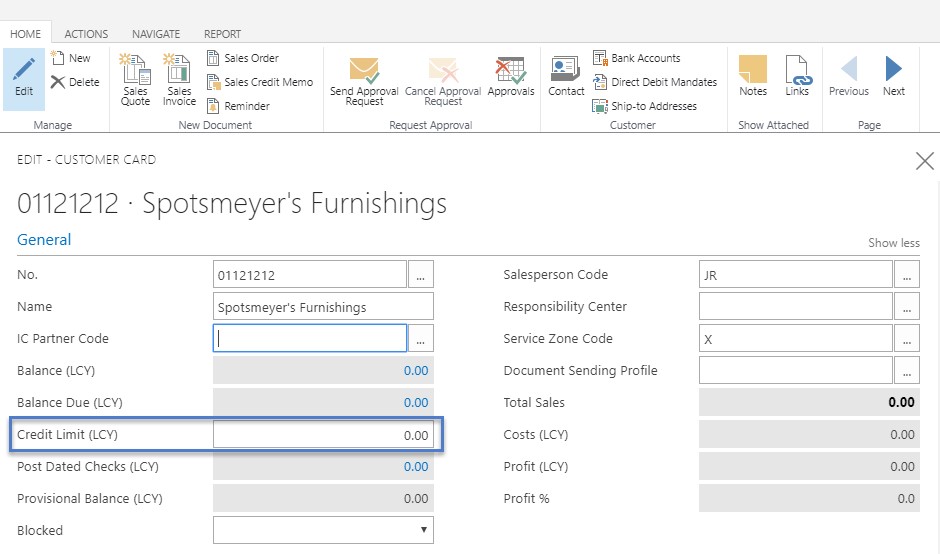
I entered 5,000 as the credit limit for this customer.

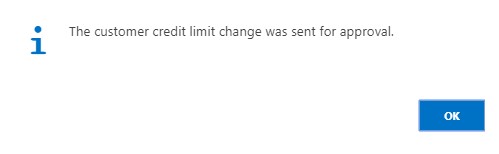
Once I click Ok a message will prompt that “The Customer credit limit change was sent for approval”. This is an automatic activity done by the system. The change will not be affected until the request is approved.
The Approver “EBS” will then see in the list of Request to Approve that customer 01121212 credit limit (LCY) changed from 0 to 5,000. It also indicated the user Id of the person making the change for the credit limit.
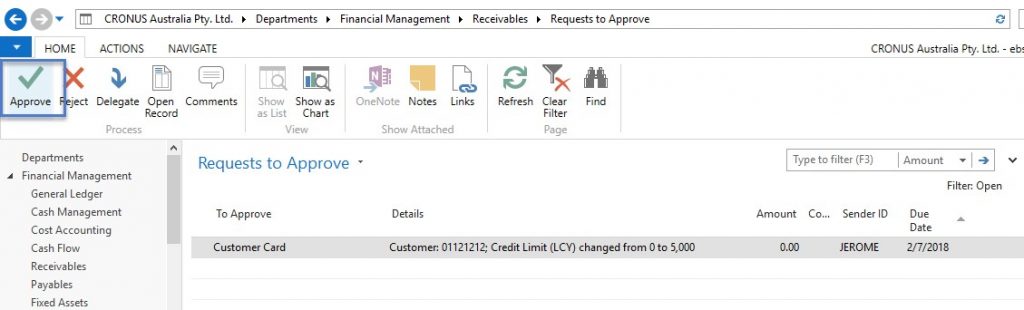
When this Request is approved then NAV will update and changed customer credit limit to 5,000.00 based from the approved request.
This is one way that Microsoft made it easier to setup NAV for clients to maximize NAV security and features.
Was this article helpful?

This post was written by Jonathan Martin, COO at Evolution Business Systems.
His expertise extends to software development, support, implementations and project management, he can envisage potential problems and identify them to improve the client experience and outcomes, like a mad scientist, behaviour, statistics and data are where he gets his insights from and lives by a golden rule to always start at the beginning as there are no shortcuts. Jonathan’s passion is to make a difference by assisting clients with their business problems.